Use roles to assign access-level permissions to users. While few roles are available by default in erwin DI, you can create custom roles.
The Administrator role is system-generated and you cannot edit or delete it.
To create roles, follow these steps:
- Go to Application Menu > Data Catalog > Resource Manager.
- Click the Roles tab.
- Click
 .
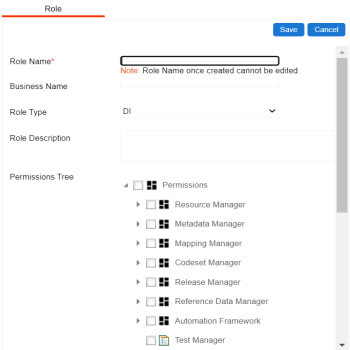
. - Enter appropriate values in the fields. Fields marked with a red asterisk are mandatory. Refer to the following table for field descriptions.
- DI: Indicates that the role is available only for a Data Intelligence (DI) user
- BU: Indicates that the role is available only for a Business User (BU)
- Under the Permissions Tree section, select the check box for the modules or the permission object to which you want to grant access to the role.
- Click Save.
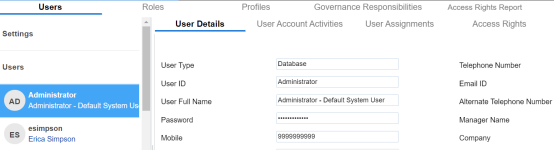
The Resource Manager page appears. By default the Users tab opens.
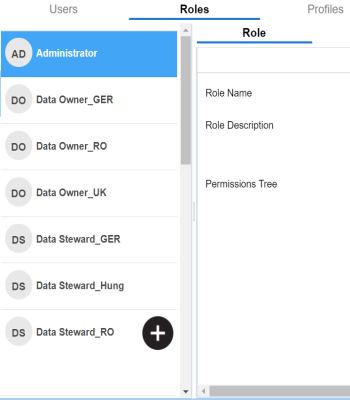
The Role page appears.
|
Tab |
Description |
|---|---|
|
Role Name |
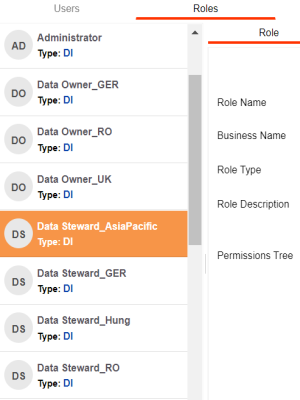
Specifies the user-defined role name. For example, Data Steward_AsiaPacific. |
|
Business Name |
Specifies the user-defined business name. For example, Data_Steward_Mapping. |
|
Role Type |
Specifies the role type |
|
Role Description |
Specifies the role description. For example, This role has access to the Resource Manager and Mapping Manager. |
A role is created and added to the Roles list.
Once a role is created, you can:
You can also manage roles by using the options available on clicking the role. Managing roles involves:
- Editing roles
- Deleting roles
- Cloning roles
|
Copyright © 2023 Quest Software Inc. |